Hans
Walser, [20260611]
Kaleidoscope
1
What
it's about
Modeling
kaleidoscopes
2
The
classic kaleidoscope
The
classic kaleidoscope consists of an internally mirrored triangular prism. For
two-dimensional modeling, we work with an equilateral triangle. Inside the
equilateral triangle, we draw an arbitrary figure (Fig. 1).
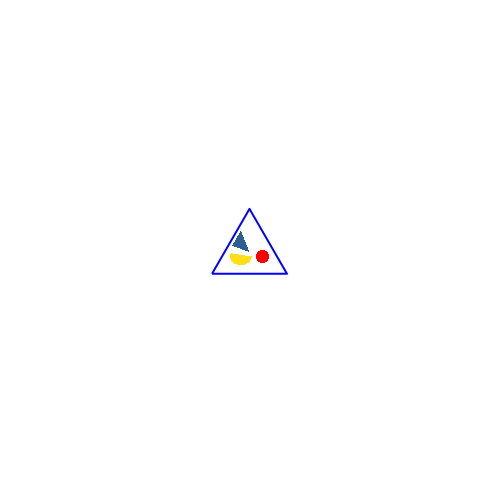
Fig.
1: Figure in the triangle
Now we
reflect this figure across each side of the triangle (Fig. 2).

Fig.
2: First step
Now we
reflect the entire figure, that is, the original figure plus its three
reflections, across each side of the triangle (more precisely: across the
supporting line of each side of the triangle) (Fig. 3).
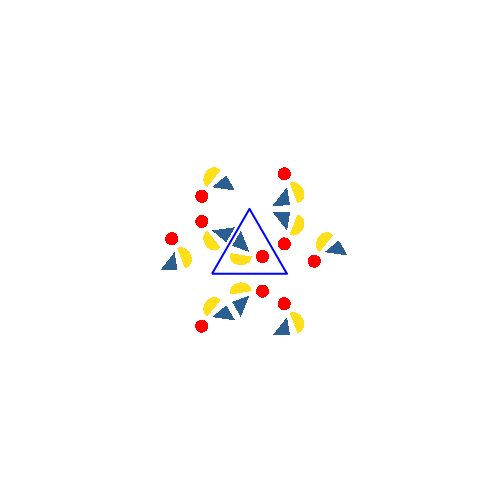
Fig.
3: Second step
In this
step, for example, the red dot is reflected back in from the outside; it is now
four layers high inside.
Again, we
reflect the entire figure across each side of the triangle (Fig. 4).
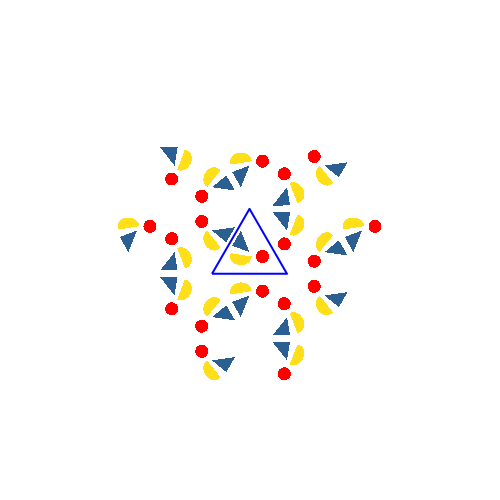
Fig.
4: Third Step
Figure 5
shows the situation after six steps. The outline is a regular hexagon.
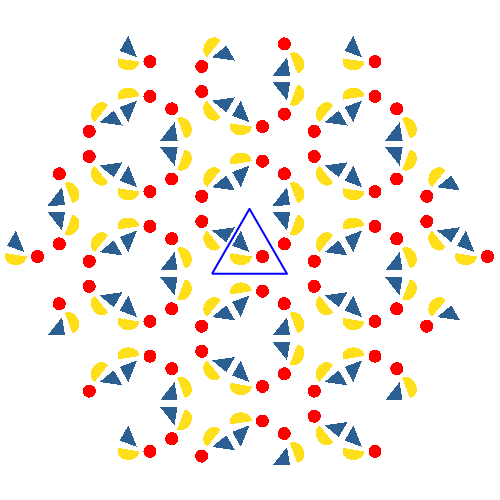
Fig.
5: Situation after six steps
Figure 6
shows an animation of the first six steps. In a real kaleidoscope, the number
of steps is unlimited.
Fig.
6: Animation
Figure 7
shows how the central triangle expands. The color is transparent; overlays
appear darker.
Fig.
7: Expansion of the central triangle
If the
figure in the central triangle (Fig. 1) is changed, the overall figure in the
kaleidoscope changes accordingly (Fig. 8).
Fig.
8: Change in the figure in the central triangle
3
General
Triangle
The
equilateral triangle cannot be replaced by a general triangle (Fig. 9).
Fig.
9: General Triangle
While it
looks quite decent in the first few steps, we then lose all symmetry (Fig. 10
after six steps).
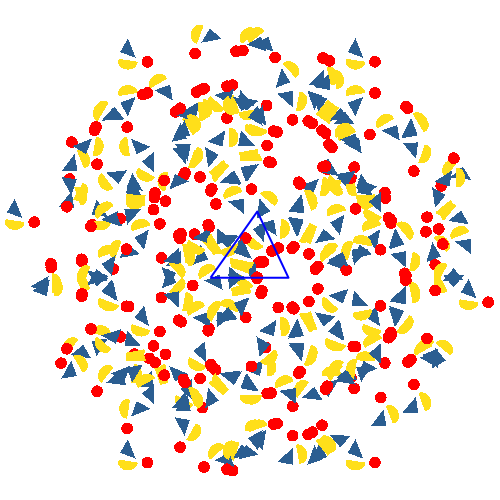
Fig.
10: Loss of Symmetry
In the
general triangle, we replace the line reflections with point reflections across
the midpoints of the sides (Figs. 11 and 12).
Fig.
11: Point Reflections
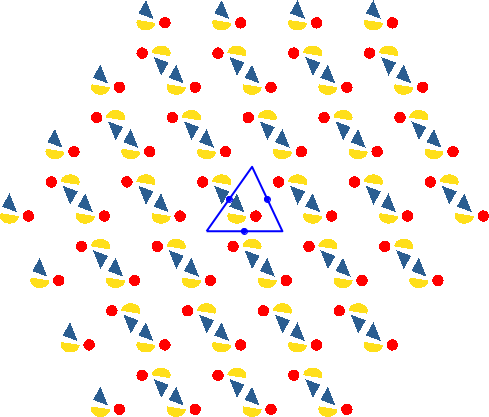
Fig.
12: Situation after six steps
The
outline is an affine regular hexagon.
How can
such a kaleidoscope be constructed?
4
Square
Kaleidoscope
Figure 13
shows the kaleidoscope with a square as its basis.
Fig.
13: Square Kaleidoscope
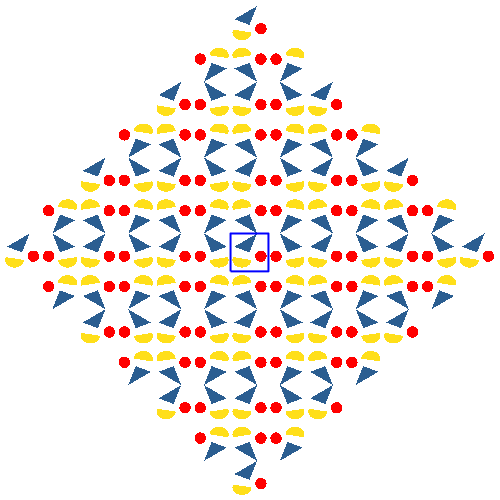
Fig.
14: Situation after six steps
The
outline is a square standing on one vertex.
Animation
15 shows the expansion and superposition of the kaleidoscope.
Fig.
15: Expansion and Superposition
5
Regular
Pentagon
For the
regular pentagon, I had to simplify the figure in the central pentagon
graphically because (in the third step) superpositions occur.
Fig.
16: Regular pentagon
After six
steps, a pattern emerges (Fig. 17). Lines can be seen that run orthogonally to
the blue sides of the pentagon. I don't understand this.
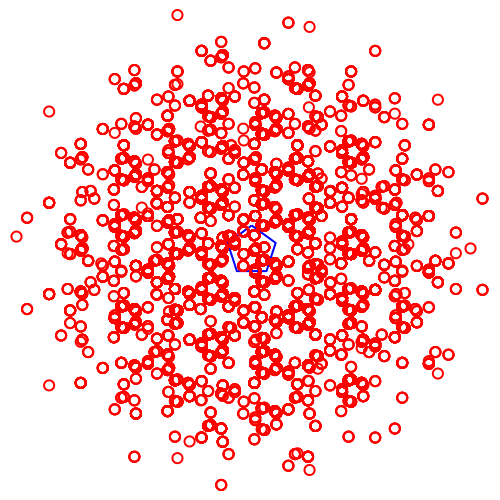
Fig.
17: Situation after six steps
In
animation 18 and figure 19, the circle has been moved to the center of the
pentagon.
Fig.
18: Circle at the center
The sides
of the blue pentagon appear to curve inwards, but this is an optical illusion.
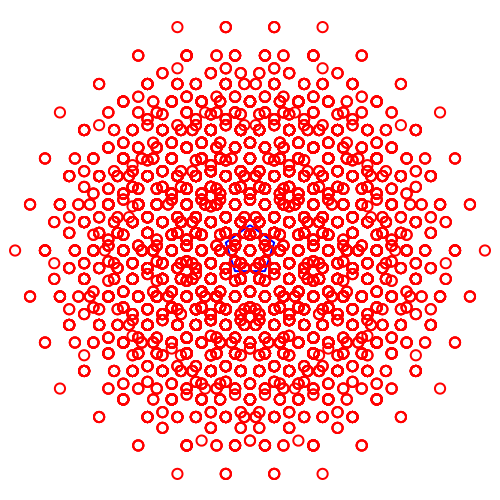
Fig.
19: Situation after six steps
Animation
20 shows the expansion and superposition of the reflected pentagons. We don't
seem to have a closing figure.
Fig.
20: Expansion and superposition
6
Regular
hexagon
In the
regular hexagon, overlaps also occur in the central hexagon (after the third
step), but after the fourth step, the figure remains stable in the hexagon
(Fig. 21).
Fig.
21: Inside the hexagon
Fig. 22
shows the situation after five steps.
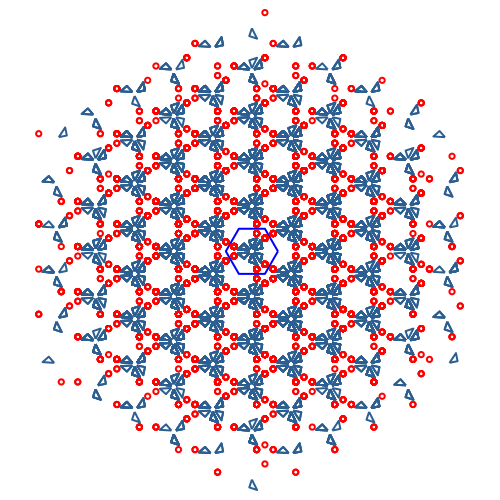
Fig.
22: Situation after five steps
Animation
23 shows the expansion and overlap of the hexagons.
Fig. 23:
Expansion and overlap
Weblinks
Wikipedia:
Kaleidoskop
https://de.wikipedia.org/wiki/Kaleidoskop
Hans
Walser: Kaleidoskop
https://walser-h-m.ch/hans/Miniaturen/K/Kaleidoskop/Kaleidoskop.htm